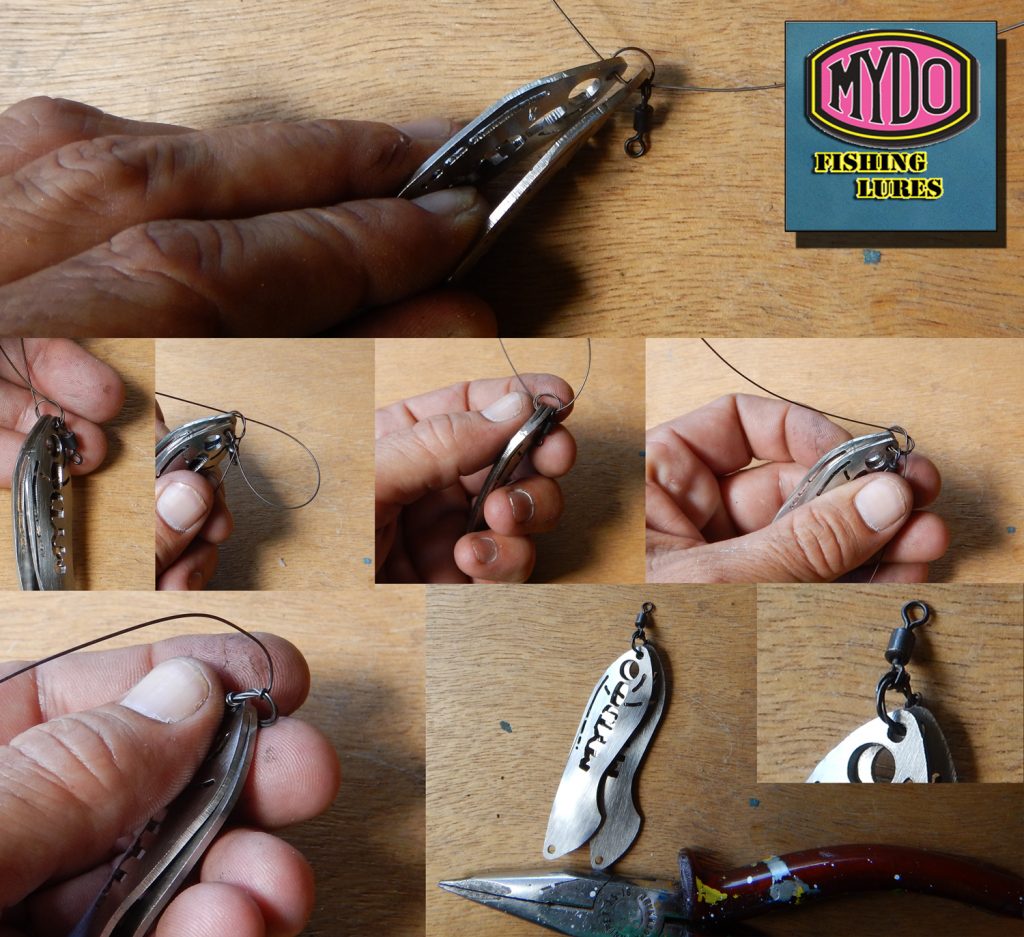
Rigging your MYDO Spoon – the traditional way
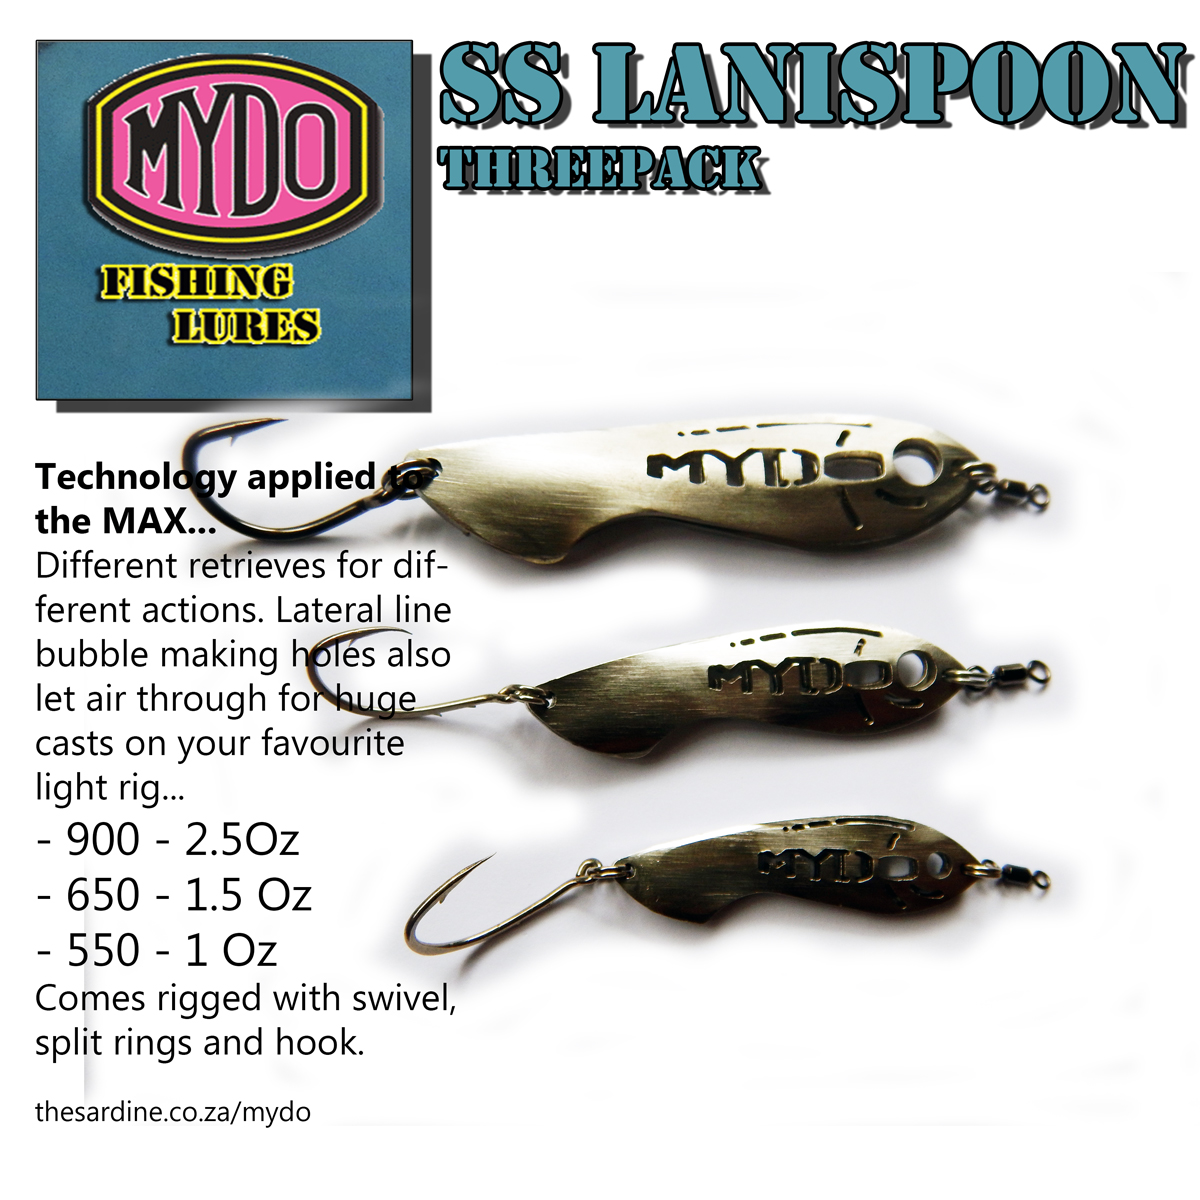
The new MYDO Spoon range is super versatile. The twin blade 316 Stainless Steel lures can be fished many ways, for many fish. In the right conditions, fishing just one of the two blades offers all the advantages of a super light lure for super light tackle in shallow water. Like estuaries or fishing for shad over reef.
All you have to do is change the configuration with the split rings. Split rings are vital pieces of equipment, but come in various qualities.
After a challenging and wild fight along the rocky edge of the Port St. Johns river mouth, the Umzimvubu, I saw a keen chap turn sour when his split ring failed 2 metres in front of us, and a 25kg garrick got away free. A forced release, which I love, but heartbreaking for the guy.
High quality split rings are readily available, but are a mission to deploy, with or without split ring pliers. A necessity for all lure anglers. And often, your lure comes with weaker split rings in the first place.
But when you have the time and vocation, there is a great alternative.
The traditional wire tying method.
Pioneered by the Durban greats back in the days of piano wire.
Ok here goes…

So…
Right…btw, if you click on the image you get more resolution. But it’s just a guide, read below…
Grab some wire. Heavier wire can be easier to work with (#7) – less finicky than the soft stuff. 30 cm will do for a start, as you get better you can use less.
Two pliers can really help when yo start out, as when you tighten the loop, it can take some pressure often resulting in painful wire cuts to the fingers. With experience injuries get less – but use pliers for now.
So, it’s a granny knot to start. But this the first challenge and that’s where the pliers really come in. Pull each tag end until you get a neat small loop to work with.
Then you got to keep threading the wire through the loop. Round and round through the inside. Both ends, and they crossover at the mid-point, which takes concentration and serious wire manipulation to get the threads looking good and compact. Use the pliers to gain extra muscle and grip in getting the loops tight.
At the closing stage, you have to also thread one of the tag ends through the swivel/hook eye and through the lure, in order to get three loops down. This is when the knot can blow up, especially if you mistakenly unthread a loop as you force the tag end through all the holes.
Crossover one more time, and close each end with a few really tight barrels, 5mm apart.
Twist off the ends. If you use pliers, you will cut a finger or get more tangles, thanks to the extremely sharp and dangerous millimetre or so stick out of the knot.
And there you have it.
Very reliable and resilient. Can take many knocks on the rocks and not fail. Will not pull out like a split ring. Very strong yet free swinging.
Try it a few times and it won’t be long til you work out your own little tricks and methods to get this know tied in just a few minutes. A few minutes that can last a very long time.

